Wednesday, March 30, 2011

Baklava.

Recipe 10.

Baklava.
(from the life of Hayley Boberg)


Ingredients:
Fillo dough
1 cup sugar
1 cup honey
1 cup water
1 tbs. orange flower water
3 cups ground walnuts (or pecans, your preference)
1/2 cup sugar
2 tsp ground cinnamon
1/8 tsp ground cloves
and a lot of melted butter, of course


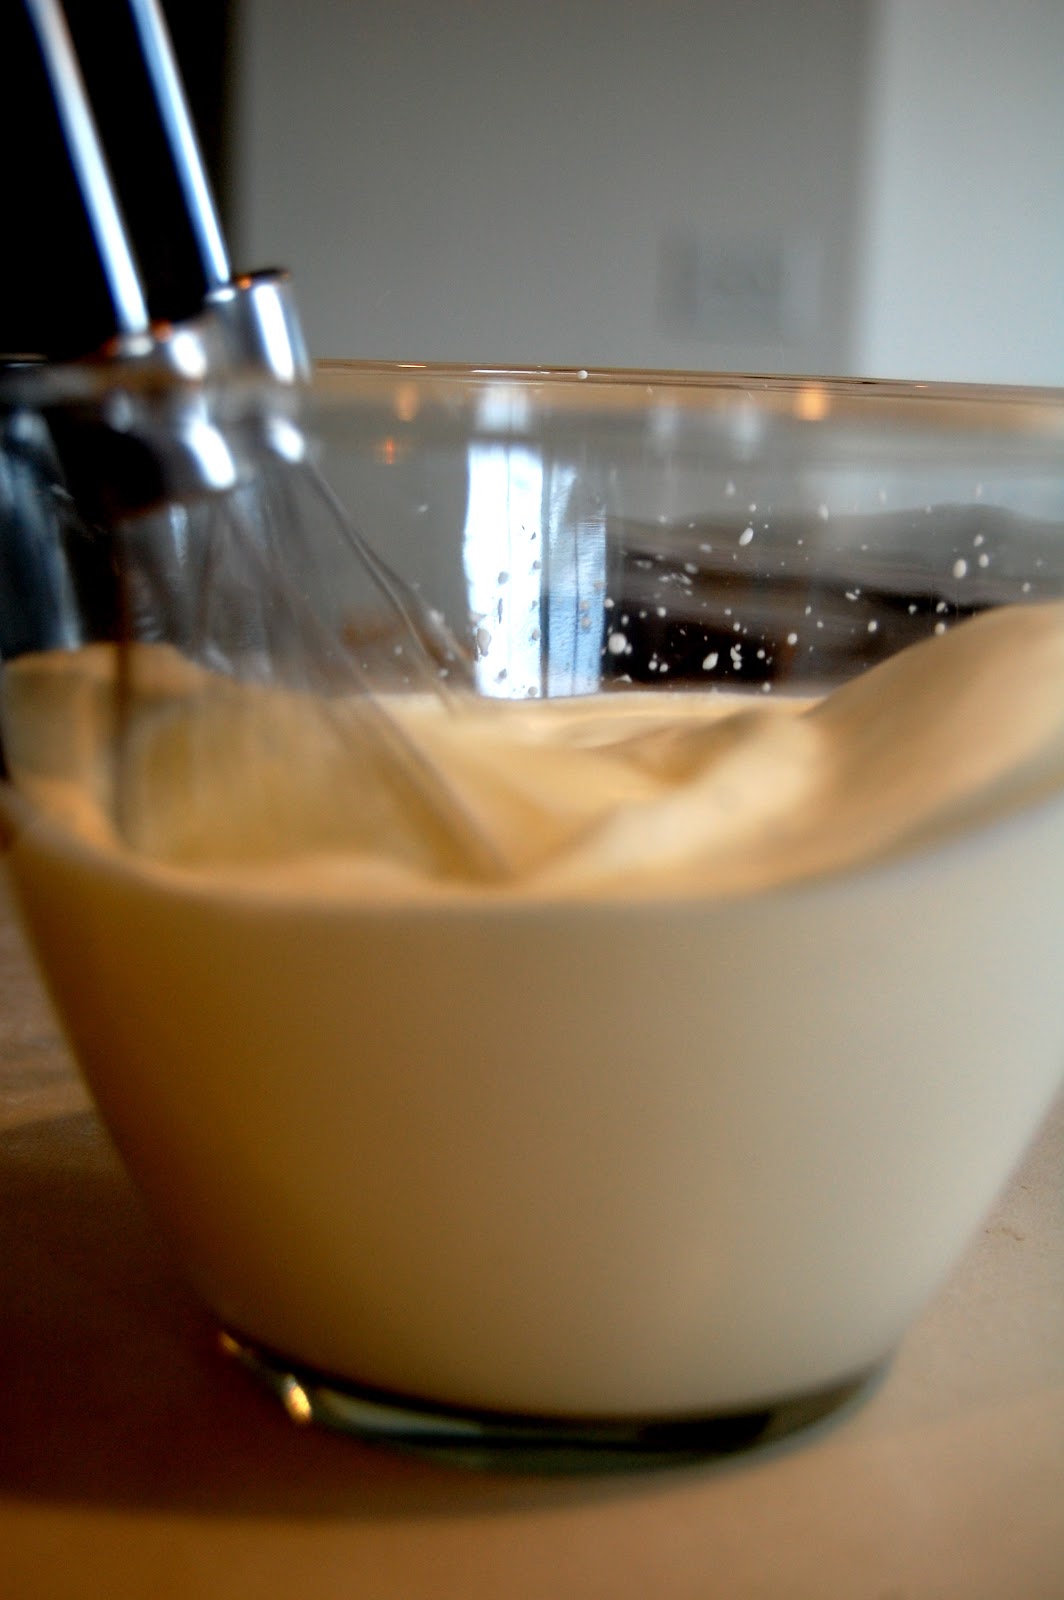
Dear Mom, my birthday is in 3 months. Do you see this beautiful Cuisinart 14-cup stainless steel food processor? It's all I've ever wanted.

To make the filling: Grind up the nuts in a beautiful machine, and mix in the sugar, ground cinnamon, and cloves.


Lay the fillo dough onto a stone or cookie sheet with no edges.  Cut edges of fillo dough until it fits properly on the stone. Pull fillo dough off. No, you aren't finished yet.

Place one sheet of dough back onto the stone, and with a basting brush, coat with butter.  Place second sheet on top, coat with butter, etc. When coating with butter, alternate between coating the middle of the sheet and the edges.  Be sure the edges are sealed together, or it will be hard to cut and it will bake too crisply.  If your fillo dough has creases (which it probably does), you'll want to flip some around before placing on to keep it stronger.

Continue until you've used about half the fillo, than spread the filling across the top.  It will be about 1/6 of an inch high. Stick on another sheet of dough, and begin the process again.  It is a little trickier now, as the filling makes the dough move around a lot more.


It becomes really flaky after it is baked and can be hard to work with, so we (Hayley) recommend cutting the top few layers before baking. Stick in in the oven at 325 for about 50 minutes, until golden brown.


Making the syrup is simple! Stir the cup of sugar, cup of water, and cup of honey together and bring to a boil.  Lower the heat to a simmer for 25 minutes without stirring. It takes some serious self-control, but you can do it.  If it starts to overflow just adjust the heat.  When you are finished, stir in the 1 tbsp. of orange flower water.  Pour the syrup on when you pull the golden baklava out of the oven!


Bon appetit! Actually, I should probably find out how the Greek say it...


No, you won't get these beautiful pictures every time.  These happened on a beautiful saturday morning where only the light from the windows was needed. And I had dedicated my whole day to it. Just wait until you see the pictures from the two cakes I started making two hours before my roommate's birthday party. Then you won't be so impressed!

Tuesday, March 29, 2011

Creme Brulee.

Recipe 9.

Creme Brulee
(from Barefoot Contessa herself)
(and in the kitchen of the beautiful, talented Hayley Marie)

Troy Bolton: What's up? 
Chad: What's up? Oh let's see, um you miss free period workout yesterday to audition for some heinous musical, and now suddenly people are confessing. Yeah Zeke, Zeke is baking. Crème brûlée. 
Troy Bolton: Oh. What's that? 
Zeke: Oh, it's a creamy custard-like filling with a caramelized surface, it's really satisfying. 
Troy Bolton: Yeah, cool. 


Ingredients:
1 extra-large egg
4 extra-large egg yolks
1/2 cup of sugar (and a little extra)
3 cups heavy cream
1 tsp vanilla
1 tbsp of orange flower water

I guess if it's been a long day you could use orange liqueur like the original recipe, but if it's been a long day you really shouldn't be making creme brulee. You should be napping.


Buy some raspberries and mint leaves, just for decoration. It's just for decoration, man.
Be sure to have someone really awesome and amazing like Hayley there to help you along the way.
Although she wouldn't let me photograph her (I snuck in a few), I assure you she is fantastic.


Preheat the oven to 300.  Mix the egg, egg yolks, and 1/2 cup of sugar together on a low speed until just combined.  If you are lucky, your kitchenaide can do this for you while you scald the cream in a saucepan until its very hot but before it boils.  Slowly add the cream to the eggs while still mixing on low.  Add the vanilla and alcohol, ahem, I mean flower water.


Smile as you pour the mixture into ramekins until they are almost full.  Place the ramekins in a baking pan and carefully pour boiling water into the pan.  You need enough water to come up about halfway on the ramekins.  We poured in the water before the mixture, I don't trust myself.


Look! There she is! The famous and gorgeous Hayley Boberg! Well, at least the back of her head.
Bake for 35-40 minutes or until they are set when you shake them.  I think it actually took ours around 50 minutes.


Pull the ramekins out of the water bath (I love that it's called that) and let them cool to room temperature. Warning: Be patient, this takes forever. We actually baked something else in between all this waiting time.  Once they are room temperature, refrigerate them until they are firm.


Then, you get to play with fire! Which actually terrifies me, but I think I handled it pretty well.  Pour a bit of sugar onto the creme brulee, and rotate it around so there is a thin layer of sugar across the top.  Pour the excess out.  Using a torch (which is awesome), smoothly flame the top layer until the sugar caramelizes into a crisp layer as shown:


Doesn't that look absolutely divine? It was so fun to make.


Whip up some cream with your left over heavy cream and some sugar.


And there you have it. Although I could never have done it with out Hayley (thank you ma'am), I am so proud of my creme brulee! It was heavenly. Just don't tell anyone that I was motivated by the fact that now I can truly sing along with Zeke from HSM.

Monday, March 28, 2011

Chocolate Fudge Cake.

Recipe 8.

In honor of my best friend's birthday:
Chocolate Fudge Cake
(from the Tasty Kitchen)


8 oz. semisweet chocolate
1 box chocolate cake mix
3.4 oz. instant chocolate pudding mix
4 eggs
1 cup sour cream
1/2 cup oil
1/2 cup water
8 oz. frozen whipped topping
12 oz chocolate chips (yes, more)

Preheat oven to 350. Grease two round baking pans. Look at those ingredients, and don't worry about the grease. You know you need to fill out your love handles better anyway. Beat the cake mix, dry pudding mix, eggs, sour cream, oil, and water in a huge bowl just until moistened.  Beat for about 2 more minutes on medium speed. Stir in about 2 oz of chocolate chips. Seriously, it's that easy.

Pour the very thick batter into the greased pans and bake for about 30-35 minutes.  Cool for 10 minutes in the pans and then flip them out and let them cool completely.

Fudge frosting: Put about 6 oz of chocolate chips in a bowl with the frozen whipped topping and microwave for about 60 seconds, stir, and then nuke it for about 30 more seconds. Nuke is a much cooler word. Let it stand and thicken for about 15 minutes.  Frost in between the cakes and the top and sides until it is as beautiful as mine (just kidding, yours will be prettier).

If you are really awesome and can make chocolate curls (I failed miserably), go for it. If you are like me, just melt some more chocolate, spread it on a cookie sheet, let it cool, and use a knife to make chocolate shavings for the top of the cake! Then, don't forget your really cute candles when you leave to go to your best friends house, because you will be really upset about it and no one else will understand.

Happy Birthday Adrianne!


Sunday, March 20, 2011

Chocolate Marble Cheesecake

Recipe 7.

Chocolate Marble Cheesecake.
(from the Better Homes and Gardens Cookbook, a little tweaked)
My first cheesecake. How precious.

1 1/2 cups finely crushed graham crackers
1/4 cup finely chopped walnuts
1 tbsp. sugar
1/2 tsp. ground cinnamon
1/2 cup melted butter
2 8-oz. packages cream cheese, softened
1 cup sugar
2 tbsp. flour
1 tsp. vanilla
1/4 cup milk
3 eggs
4 oz. melted semisweet chocolate

Preheat the oven to 375. For the crust, combine the crushed graham crackers, walnuts, cinnamon, and sugar. Stir in the melted butter. Press the mixture into a spring form pan to form the crust. It should be about 2" up on the sides (you may need to use more graham crackers than the recipe calls for). Set aside.

Beat cream cheese, 1 cup of sugar, flour, and vanilla in a large mixing bowl.  Beat in milk until smooth. Stir in the already-beat eggs. Separate the filling, and stir the melted chocolate into one half.  Pour the plain filling into the crust, and then the chocolate. Use a knive to gently swirl the fillings.

Place the pan into a shallow baking pan and bake for 40ish minutes, until the outside edges appear set when gently shaken. Cool on a wire rack for 15 minutes and use a small knife to loosen the crust from the sides of the pan.  Allow to cool for 30 more minutes.


Remove the sides from the spring form pan and cook cheesecake completely on the rack.  Chill for at least 4 hours. I know, it takes serious self control to wait that long. Place on your pretty cake stand, take some pictures, and then cut in!


Make sure one of your friends is really into food presentation and makes this piece of art for you:


I know it doesn't look like a perfect cheesecake, but I was so proud of my first one!

Saturday, March 19, 2011

Toffee Chocolate Puff Tarts

Recipe 6.

Toffee Chocolate Puff Tarts
(from the Chocolate Box cookbook)

Makes 12

15 oz. prepared puff pastry
5 oz semisweet chocolate
1 1/4 cups heavy cream
1/4 cup confectioner's sugar
4 egg yolks

Toffee Sauce (from allrecipes.com)
1/3 cup butter
2 cups brown sugar
1 cup light corn syrup
1 can sweetened condensed milk
2 tbsp. water
1 tsp. vanilla extract

Before starting, pull out your puff pastry to thaw for at least 40 minutes. But don't let it dry out.  I thawed mine with a wet towel draped over it.  Cut two inch circle of wax paper and line the bottoms of a 12-hole muffin tin.


Once the puff pastry is manipulatable (actually a word), cut out twelve 2" circles. I used a cup with an approx. 2" diameter to cut out the circles. Then cut twelve strips and roll them out until they are about half the initial thickness of the pastry.


Line the sides of each muffin hole with the strips, and then press in the circle to the bottom.  Seal together to make a tart shell.  Prick the bottoms of each shell and chill in the fridge for half an hour.


Preheat your oven to 400. While the shells are chilling, melt your chocolate over a pot of simmering water (oh how I have done this millions of times..). Remove the bowl and cool just enough, then stir in the cream. Beat together the yolks and sugar and mix well with the chocolate.

The recipe told me to buy toffee sauce, but since I couldn't find it at my local grocery store, I decided to just make my own! Melt the butter in a medium saucepan, stir in the brown sugar, corn syrup, water and condensed milk.  Remove from the heat and stir in the vanilla!


Ok, back to the original-ish recipe.  Pull out your tart shells and get ready for the exciting part! Poor a spoonful of toffee sauce into each shell, and then divide the chocolate into each shell. Honestly, pouring the chocolate over the toffee might have been one of the defining moments of my life.


Be careful! You will have too much chocolate! Don't fill the shells up too much, mine expanded much more than I expected. Bake for 20-25 minutes, and turn the tray around halfway through.


Cool the tarts, remove the wax paper, and top with whipped cream and a dusting of cocoa powder! Voila!


Reviews (from boys, I might add):

"Those were seriously the most delicate delicacies I have ever tasted. Danka."

"These things are sooooooooo good. I propose the name 'better than ___* cream puff brownies."

*editing of text messages done by yours truly.

Thursday, March 10, 2011

Lemon Drop Cookies

Recipe 5.

Lemon Drop Cookies
(from Tasty Kitchen)

My mom sent me this recipe yesterday afternoon and I went straight to work on them! They sounded and looked so fun!

3 cups of flour
1 tsp baking soda
1/2 tsp salt
1 1/3 cup sugar
1 whole lemon (zested)
1 cup butter
2 eggs
1 tsp vanilla
1 1/2 tsp lemon extract
4 oz. Lemon Drop or Lemon Head candies (crushed)

Glaze:
3 tbsp lemon juice (from the lemon)
1 1/2 cup powdered sugar

My two new skills: crushing hard candy in the most annoying way possible, and zesting a lemon!
And before we get started, behold my new mixing bowls from the most heavenly place on Earth:
In a beautiful medium bowl, mix flour, baking soda, and salt.  In a separate beautiful bowl, add sugar and lemon zest. Use your fingers to rub together until it is well blended and fragrant.  Add softened butter and cream together.  Blend in eggs, vanilla, and lemon extract. Mix in crushed lemon drop candies.  Add flour mixture and stir until mixed in.

Drop 1 inch balls onto a greased cookie sheet. Flatten balls slightly with your hand. Bake at 350 for 10-12 minutes until slightly browned. While your cookies are cooling, press your thumb into the middles of them to make an indentation so the glaze will stay on top better. You can thank my beautiful roommate Kendra for that tip.
The glaze is simply the lemon juice and powdered sugar mixed together. Once the cookies are cool, spoon glaze on top. The glaze takes a while to set before the cookies are transportable.

Saturday, March 5, 2011

Basic Bread Recipe

Recipe 4.

Basic Bread Recipe
(from King Arthur Flour)

2 cups warm water
1/4 cup sugar
1 packet yeast
2 cups 100% White Whole Wheat Flour
1 tbsp salt
1/4 cup vegetable oil
4 cups All-Purpose Flour

Warning: This recipe takes around 3.5 hours, so if you are going to make real bread, be dedicated.

Yes, I've made bread before. But don't you think a baking project deserves at least a basic bread recipe? Thank you for agreeing.
In a large bowl, combine warm water, sugar, yeast, and 2 cups of white whole wheat flour. Cover mixture with a clean towel and let stand 10 minutes until it is bubbly looking.

Stir in the salt and vegetable oil. Stir in the all-purpose flour one cup at a time until the dough holds together and everything is mixed in (I added a little more water to help the process, but not too much!). Plop the dough onto a floured surface and roll up your sleeves!

My favorite part: knead the dough! So therapeutic.  It might be one of my top 5 favorite things to do. Maybe. Anyway, knead for a solid five minutes. Pick your favorite song and a half to get you through it if this is a painful process for you.  Let the dough rest (ha! and your forearms) while you clean out your mixing bowl and cover the sides with oil.

Knead for one or two more minutes, mainly so you can listen to the second half of that song, and then place it into the oiled bowl. 


Cover the dough with plastic wrap and a clean towel and place in a warm place to rise for 1.5 hours. Just to add pressure, make sure you have three handsome young men sitting in your living room waiting for food.


And while you are waiting for the dough to rise, you could make some lemon-peppered chicken, spinach salad, and sauteed squash for dinner. Just an idea.


Once your dough has risen to about double its original size, gently deflate it (by punching it) and turn it back onto that floured surface. Divide the dough in half and form it in any shape you'd like! You can stick it in two bread pans or make round loaves.  I split mine into six even pieces and braided two loaves.

Grease a baking sheet and place your loaves on it.  Cover it with plastic wrap and a towel and then let it rise AGAIN for 30 more minutes.

Finally, bake the loaves for about 30 minutes at 375 degrees. When it's golden brown and it sounds hollow when you tap it, you've got bread! Cool before eating, please. I don't want to be the cause of a burnt tongue.